
How to create a github local branch in vs code

Github tutorial link:
Video link:
Step 1 – Go to terminal and choose cmd


Step 2: Check whether command line git is working or not.
git –version

Also check in what branch you are currently working by
looking into lower left corner.


Step 3: Enter a create branch command to create a new branch
git checkout -b bran1
Above command will create a new branch and select it as
current branch


Step 4: Add new file or change which you want to checked in.

It will show it as newly updating file and also you will see
a marking on source control icon as well.

Step 5: Checked in the code to local branch

Click the right icon to commit your changes to new branch.
Make sure current branch.

It
will ask just click yes or choose always if you don’t want a popup again.

Don’t forget to add comment on it.

After
checked in all changes related notification will be gone.

Upto this step you have checked in new file to your local
branch only. Server don’t have any information about it.
Step 6: Test whether new file is checked in on a particular branch or not. By changing the current branch.
git checkout master

will be used for selecting master
git checkout bran1

will be used for selecting bran1
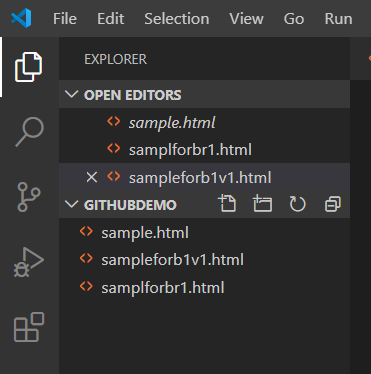
Switching branches
when you switch from one branch to another branch notice the
files.
git checkout master
Only one file as new files are commited on different branch.

git checkout bran1
Two new files are there now.
Step 7: Pushing the branch to git server
git push -u origin bran1

You might get an error like below
make sure you configure your user.name and user.email in git

You can fix it by providing email and username in global config.
cd C:\Program Files\Git\bin
git config --global user.email "you@example.com"
git config --global user.name "Your Name"
git config --global user.name "Your Name"

When you fire a command push it can also ask for your git
username and password to make a call to github. So just provide and logged in
yourself.


Step
8: Checked online whether new branch is created or not.

0 comments:
Post a Comment